Photos for Foodies
Common uses have included videos of food creation, staged images, as well as advertisements, wall art and menu items for improved menu designs. Click here for a real life example of how SHOTBOX improved the Asa Ramen Shop’s menu.
TIP #1
Taking a photo of an item inside the SHOTBOX gives a sheen and crispness to the food.
The SideShot Arm lights can be used to enhance these effects.
TIP #2
An appetizing picture does not have to include the whole item. Zoomed-out pictures can be effective but so can close-up shots where part of the image is cropped out. This can give the impression of there being a greater quantity of food or simply help the delicious details of the food be visible in your image.

TIP #3
The focus of your camera can also be on a part of the food instead of the whole. For example, instead of simply taking a picture of a bowl of soup, the focus can be a spoonful of the soup to show the contents better.
TIP #4
When it comes to food, a plain white background can make the food feel like it was made in a lab or simply seem unattractive. Backdrops like the SBPrints along with props and decorations can make it feel like the image was taken either in grandma’s kitchen or a restaurant. The décor can also be used to give the image a seasonal setting or a specific mood.
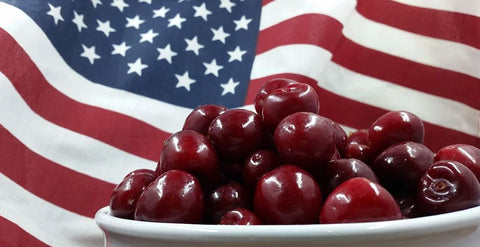
TIP #5
Placing extra ingredients such as fruits next to the food item being digitized can also lure people to your image.
TIP #6
With simple recipes, all the ingredients can be placed in the SHOTBOX to encourage people to replicate a recipe put on a food blog.
TIP #7
Videos can be taken inside the SHOTBOX of parts of the cooking processes - such as mixing ingredients, final touches and decorating desserts - using the top holes, or SideShot Arm, or both.
Visit shotwithshotbox to view examples of these food blogger tips!
Other articles you may be interested in: